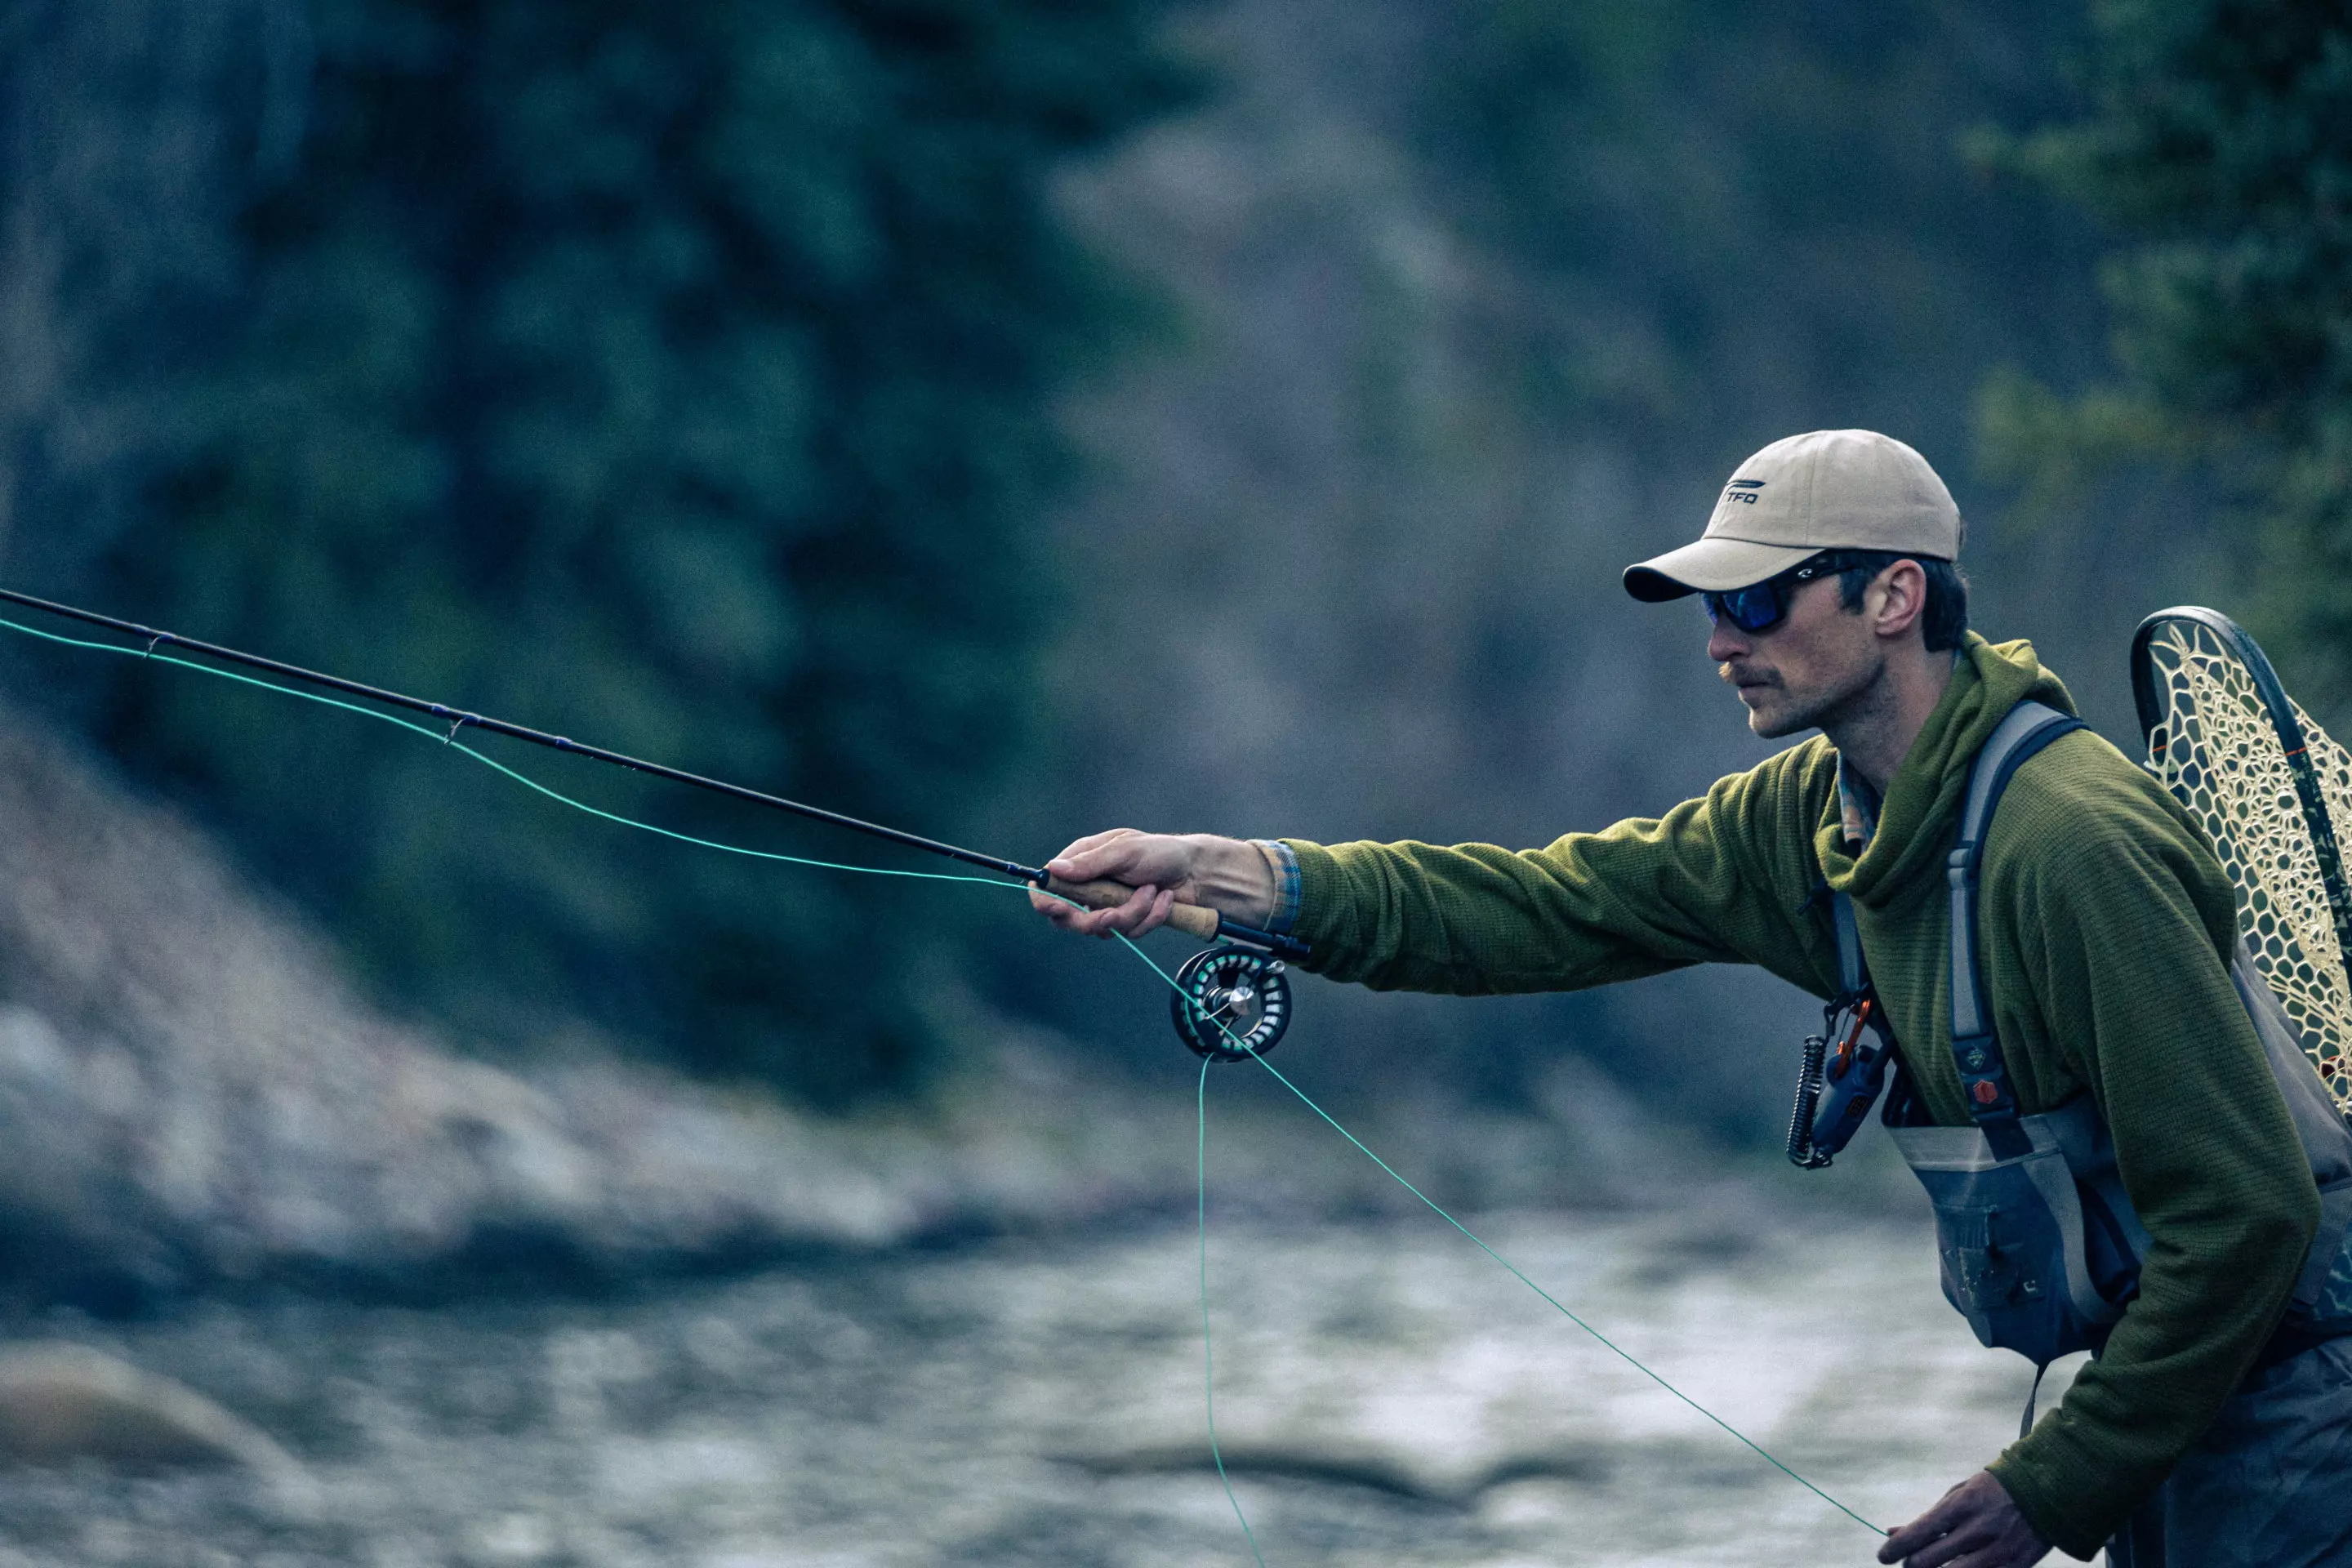
Whether you're a weekend hobbyist or a seasoned pro, a secure knot is the only thing standing between you and the catch of a lifetime. Today, we’re breaking down the 3 most reliable, high-strength knots: the Improved Clinch, the Palomar, and the Uni Knot. Let’s get rigging!

There’s no heartbreak quite like it: you feel that aggressive strike, the rod doubles over, and just as you start to gain ground—snap. The line goes limp, and your trophy fish is gone with your lure still in its mouth.
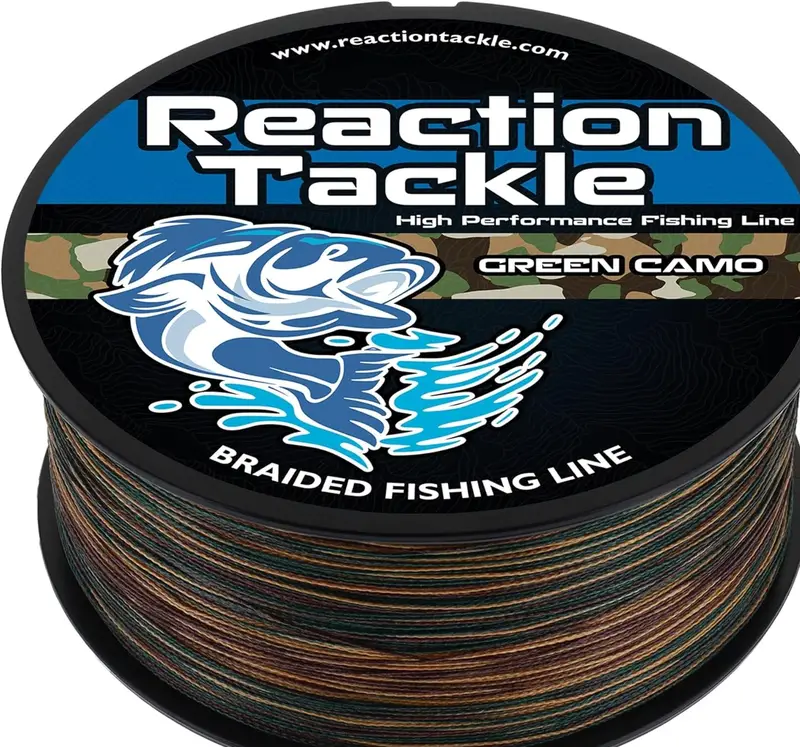
To prevent "the one that got away" stories, you need knots that can handle the pressure of different line types like Monofilament, Fluorocarbon, and Braided lines. Here are the three heavy-hitters you need in your arsenal.
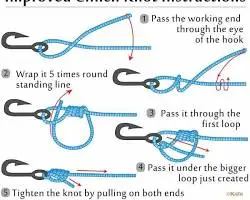
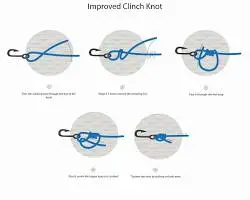
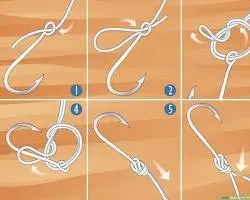
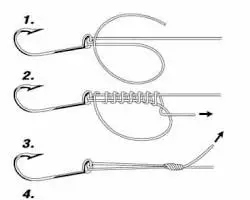
1. The Improved Clinch Knot — The All-Purpose Standard
This is the go-to knot for millions of anglers worldwide. It’s perfect for securing small to medium-sized hooks and lures to Monofilament or Fluorocarbon lines. It's easy to tie and boasts incredible terminal strength.
- Thread the Eye: Pass the end of the line through the eye of the hook, leaving about 5-6 inches of tag end.
- The Wrap: Wrap the tag end around the standing line 5 to 7 times.
- The Loop: Thread the tag end through the small loop right next to the eye.
- The Tuck: Pull the tag end back through the large loop you just created.
- Wet & Pull: Crucial Step! Lubricate the knot with water or saliva to prevent friction damage, then pull the standing line and tag end simultaneously to seat the knot.
- Trim: Clip the tag end, leaving about 1/8th of an inch.
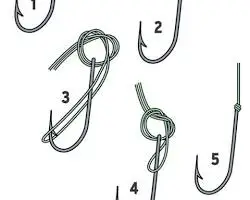
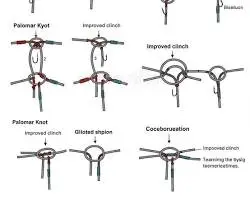
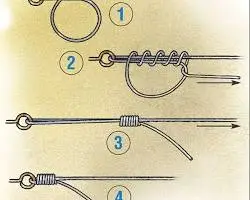
2. The Palomar Knot — The King of Braided Lines
If you prefer Braided line (PE) for its zero-stretch properties, the Palomar Knot is non-negotiable. It is widely considered the strongest knot for braid because it's nearly impossible to slip.
- Double Up: Double about 6 inches of line and pass the loop through the eye of the hook.
- Overhand Knot: Tie a loose overhand knot with the loop and the doubled main line, making sure the hook is dangling inside the loop before you pull.
- The Pass-Through: Take the loop and pass it completely over the hook (or lure).
- Tighten Down: Wet the line and pull both the tag end and standing line to cinch the knot down onto the eye.
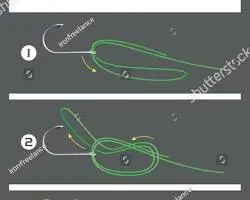
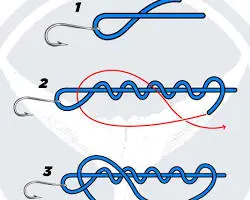
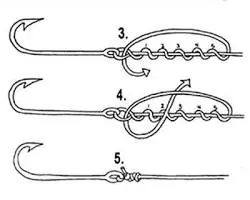
3. The Uni Knot — The Most Versatile Tie
The Uni Knot (short for "Universal") is the Swiss Army Knife of knots. It works for hooks, lures, and even joining two lines together. It excels with heavy Fluorocarbon where other knots might struggle to seat properly.
- Loop Back: Pass the line through the eye and fold it back so the tag end is parallel to the main line.
- Form a Circle: Drop the tag end down to form a circle over the doubled lines.
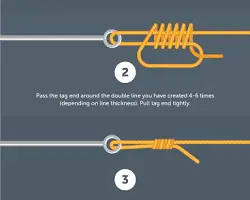
- Internal Wraps: Wrap the tag end around the two parallel lines inside the circle 5-6 times.
- Slide & Lock: Pull the tag end to tighten the wraps, then pull the standing line to slide the knot down flush against the eye.
💡 Pro Tips for a Bulletproof Knot:
- Never Skip Lubrication: Friction creates heat, and heat kills line strength (especially Fluorocarbon). Always wet your knot before the final pull.
- Test the Seat: Give your hook a firm tug against the main line. If it slips even a millimeter, cut it and re-tie.
- Check for Nicks: After a hard fight or a snag, run your fingers along the last 12 inches of line. If you feel any fraying or "teeth marks," it’s time to re-rig.